Showing posts with label Helen. Show all posts

Thursday, 11 August 2016

Kraft Doodle Paper Packs


Have you seen the brand new Kraft Doodle Paper Packs?  Exclusive to LC Designs, the papers have a selection of hand written designs with cute little pictures.

The full size pack (pictured above) contains 24 sheets measuring 14cm by 14cm and you can find the pack here on the website.

And this is the Mini Kraft Doodle Paper Pack:


This set contains 40 sheets measuring 8cm by 8cm and can be found here on the website.

And here are some cards made using the papers:


First of all, a card made using one of the papers from the full size pack - the words on the paper are 'thinking of you' with a small flower.  The stamp used for this card is the very cute 'Hedgehogs in Squares' stamp set which is here.


Next a card showing one the papers with paler writing on it - the words on this one are 'just for you' which a little heart picture.  The stamp used for this one is 'Wavy Doggies' which is here.


And finally a card made using a sheet from the Mini Paper Pack.  On this sheet are the words 'with love and little hearts.  The stamp used for this card is 'Dinkies Rain Hogs' which is here.

Hope you like my cards - keep an eye out for more inspiration coming soon!

Helen x

Tuesday, 9 August 2016

At the Seaside


Good morning - it's Helen here to share two cards I've made recently using the At the Seaside paper packs.  There are two versions of the pack - the larger one has 24 sheets measuring 14cm by 14cm and you can find it here on the website.  The Dinkies version of the paper pack has 40 sheets measuring 8cm by 8cm and you can find it here on the website.

Here's my first card:


I've used the spotted paper from the larger paper pack and the life buoy paper from the Dinkies pack.

The stamp set I used on this card is 'Wavy Seascape' and you can find it here on the website.  The sentiments are part of the set.

And here's my second card:


On this one I've used the spotted and striped papers from the larger paper pack.  The 'Beach Huts' stamp I've used is here on the website and the sentiment is here.

Enjoy the rest of your week

Helen

Wednesday, 29 June 2016

June Challenge Inspiration from Helen


Good morning - it's Helen here to share my DT card for the current LC Designs Challenge and to remind you that there's still time to enter the challenge.

For this month's challenge we're asking you to 'create a scene' - so we're looking for cards featuring a scene of some sort.  You could use several stamps to create a scene or just use one stamp that shows a scene - the choice is yours!

All the details about the challenge are here on the original blog post and the prize on offer for the winner is:


For my card I've used 'Wavy Seascape'

It's folded card - here's a side view to show the shape better:


My card was designed for one of the LC Designs workshops I ran a couple of months ago - if you're interested in coming to one of my future workshops, have a look here on the website.


Thursday, 28 April 2016

Tag - You're It!


Good morning - it's Helen here to share a very quick and easy card using some great LC Designs products.

Here's what you'll need:

sentiment stamp from LC Designs
patterned paper
plain paper
ribbon
black gems
corner rounder punch

and here's what you need to do:

1. Trim the bird image taking away the white surrounding the picture as shown in the photo below.  Stamp the sentiment sideways as shown in the photo.  Mat on to coloured card:


2. Cut a a piece of patterned paper to measure 8cm by 7cm and a piece of plain paper to measure 8.5cm by 7.5cm.   Round the bottom two corners and then mat the patterned paper on to the plain paper as shown in the photo below:


3. Attach the paper panel to the front of the tag card and then add the image as shown below:


4. Tie ribbon through one side of the tag card and add some black gems:


As you can see, the Irresisitible Images can be cut down or even die cut - they don't just have to be used as they are.  They're great for making quick cards as the images are pre-coloured.

Kraft tag cards are also on the website here.

And here's another tag card I've made using 'Dinkies Tulip Bunny'


Enjoy the rest of your week.

Saturday, 9 April 2016

Monthly Challenge Reminder and Inspiration


Good morning everyone - it's Helen here with my inspiration reminder post for this month's LC Designs Challenge.  Our theme is 'anything goes' so if you haven't entered yet, make sure you go and take a look at the challenge details here.

There's a fabulous prize on offer for the challenge winner:


For my card I've used one of the new LC Designs outline sticker sheets - this one is the 'Wavy Cats' sticker sheet and you can find it here on the website.  The sentiments I've used are included on the sheet.  The paper I've used on my card is from the Pretty Pastel Dots paper pack which is here on the website.  

Don't forget to enter our challenge - there isn't long now before our next challenge starts on 16 April.

We're also looking for Guest Designers for future challenges - if you're interested, don't forget to add GDT after your entry.

Thursday, 7 April 2016

Thinking of Ewe ...... Wavy Sheep Outline Stickers


Good morning - it's Helen here with this week's blog project and I'm sharing a card I've made using one of the new 'wavy' outline sticker sheets.

To make this card you will need:

green paper
colouring medium of your choice

1. Cut away half of the front of the card blank as shown in the photo below:


2. On to the inside of the card blank mat a piece of green paper measuring 12cm by 7cm and a piece of the gingham paper measuring 11.5cm by 6.5cm.  On to the remaining piece of the front flap of the card mat a piece of green paper measuring 12cm by 3.5cm and a piece of gingham paper measuring 11.5cm by 3cm.


3. To attach your outline sticker straight on your piece of card, carefully peel the sticker off the backing sheet and lay it, sticky side up on your cutting mat.  Let the sticker 'rest' for a minute and adjust it until it is lined up with one of the lines on your cutting mat.


4. Carefully place a piece of white card measuring 9.5cm by 5.5cm over the top of the sticker making sure the sticker is in the middle of the card.  Add the extra sheep and the little 'curls' and carefully remove any stray bits of sticker using a pokey tool.  Add the sentiment and then colour in the design.  Mat it on to a piece of green paper measuring 10cm by 6cm and attach to the front of the card as shown.


5. Add some gems to the image panel to finish.


Outline stickers are a great, cost effective way to make cards.  Here are a few more of my designs:


All of the outline stickers I've used can be found here on the website.

Hope you've enjoyed my project!

Wednesday, 17 February 2016

Monthly Challenge Inspiration

Good morning everyone - it's Helen here with a quick reminder of our current monthly challenge and some inspiration for you.

The theme of our current challenge is 'love and marriage' and you can find all the details here on the challenge blog.

We would love to see your cards entered in the challenge and there's a £10 voucher to spend on the website on offer for the winner - a really great prize!

And now for two cards from Gaynor and myself made for the challenge:


First of all Gaynor has used:

Dinkies sentiment stamps from 'Happy Birthday Mrs Lovely' and 'To Lovely You'
Nice'n'Stripey paper pack


and for my card I've used:

'Wavy Wedding' stamp set

Enjoy the rest of the week and keep checking back here for more inspiration from the Design Team.

Helen x
Friday, 25 December 2015

Friday Blog Project - Wavy Cats


Good morning and Happy Christmas!  I hope you're having a fabulous day and a wonderful holiday.

It's Helen here to share a photo tutorial for a card I've created using one of the new 'wavy' stamps from LC Designs.  

Here's what you'll need to make the card:

white card
black paper and card
pink patterned paper
Detail Clear Embossing Powder
heat gun
colouring medium of your choice

And here's what you need to do:

1. Stamp the main image from the stamp set on to white card using the Versafine ink pad.  I've embossed my image using Detail Clear Embossing Powder.  This is because I wanted the detail from the Versafine pad but also wanted to colour the image using Promarkers - using the embossing powder means that the stamping won't 'bleed' when you use the alcohol markers.


2. Use the 'Have a Purrfect Birthday' sentiment and curve it on an acrylic block as shown in the photo below - hover over the stamped image before inking it so you can adjust the sentiment until it follows the line of the main image.


3. Stamp as shown in the photo below:


4. Use the following measurements to make your base card, scoring between each section of the card:


5. Next mat a piece of black paper measuring 12.5cm by 8cm on to the main section of the card and a piece of patterned paper measuring 12cm by 7.5cm as shown below:


6. Then mat a piece of black paper measuring 5.5cm by 8cm on to the front of the card and a piece of patterned paper measuring 5cm by 7.5cm as shown below:


7. Finally mat a piece of black paper measuring 1.5cm by 7.5cm on to the final section of the card and a piece of patterned paper measuring 1cm by 7cm as shown in the photo below:


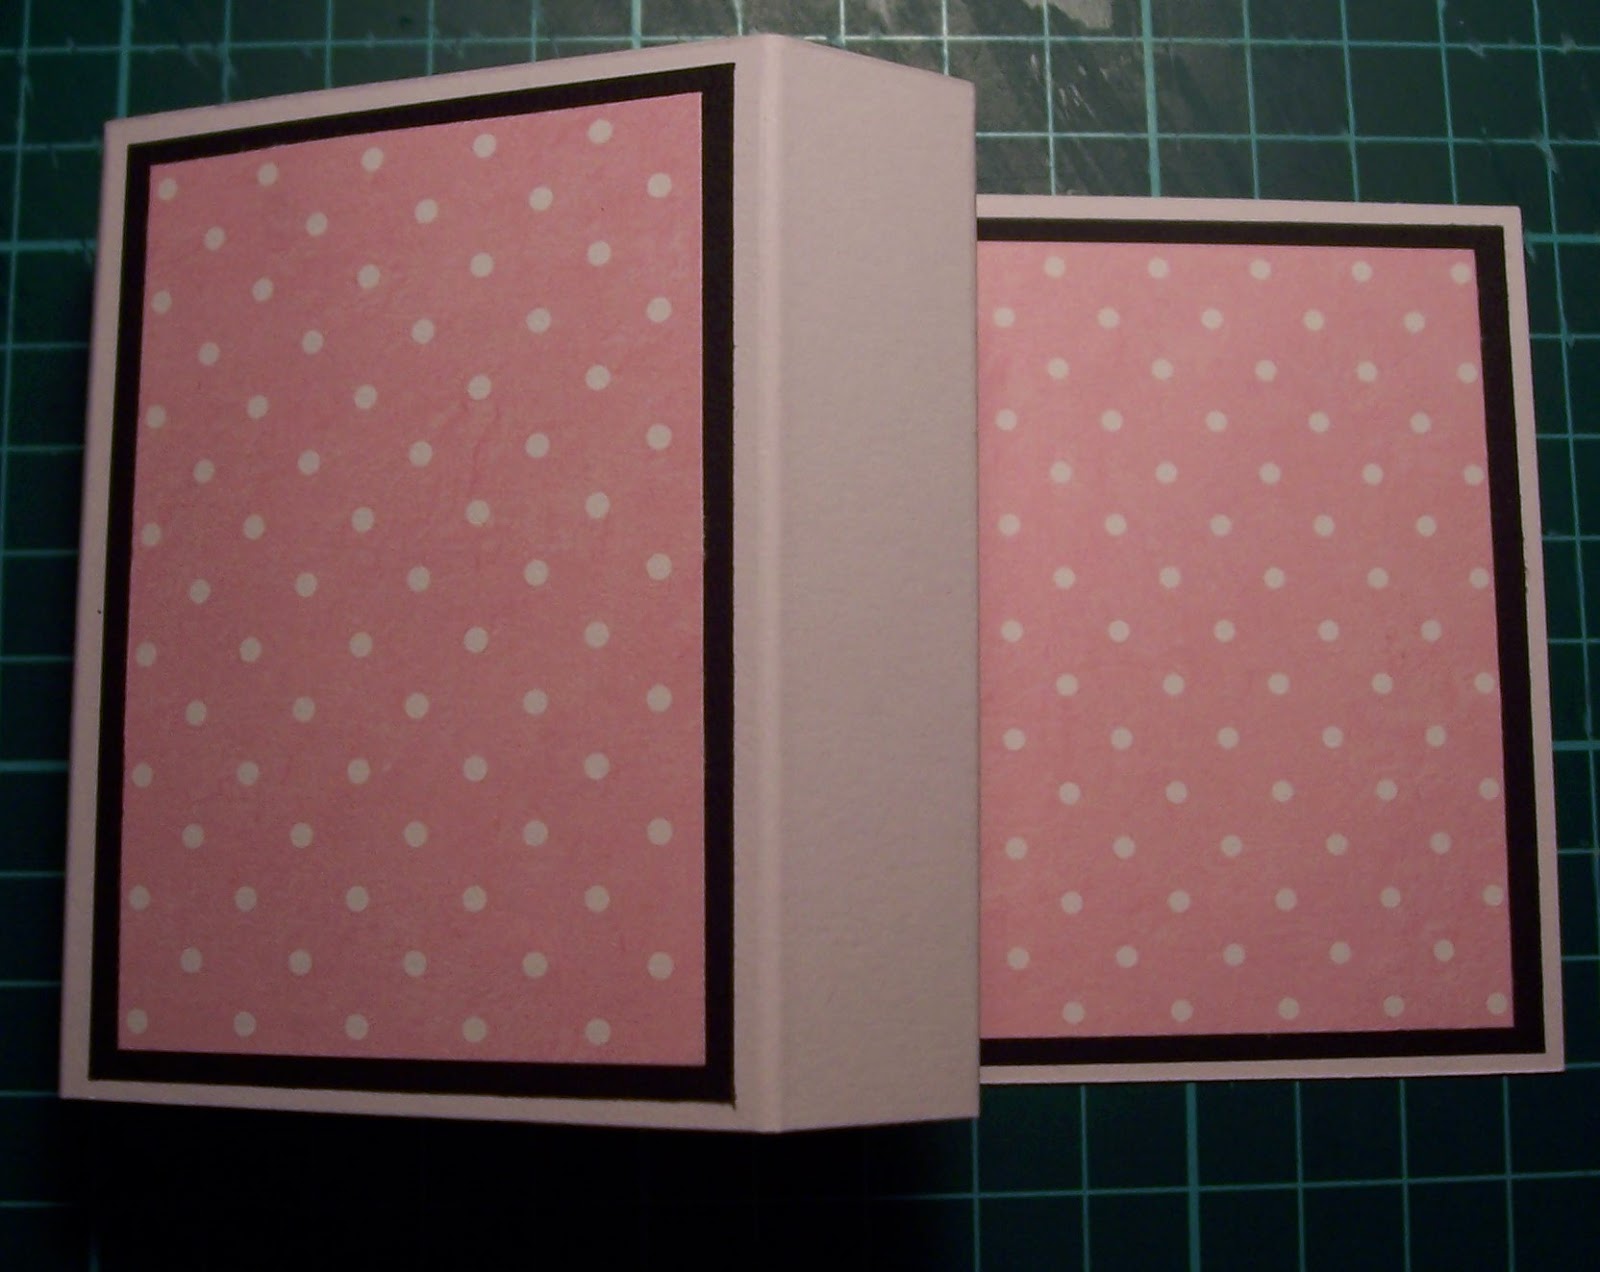
8. To assemble the card, attach tape to the other side of the card as shown in the photo below and fold the card round to form a box shape.


9. Mat the stamped image on to black card and attach to the front of the 'box' as shown in the photo below.  Finish the card using some black gems:


10. This is the top view of the card:


And here's the card again:


The card folds flat to go in the post.

I hope you've enjoyed my little project.

Enjoy the rest of the holidays!!